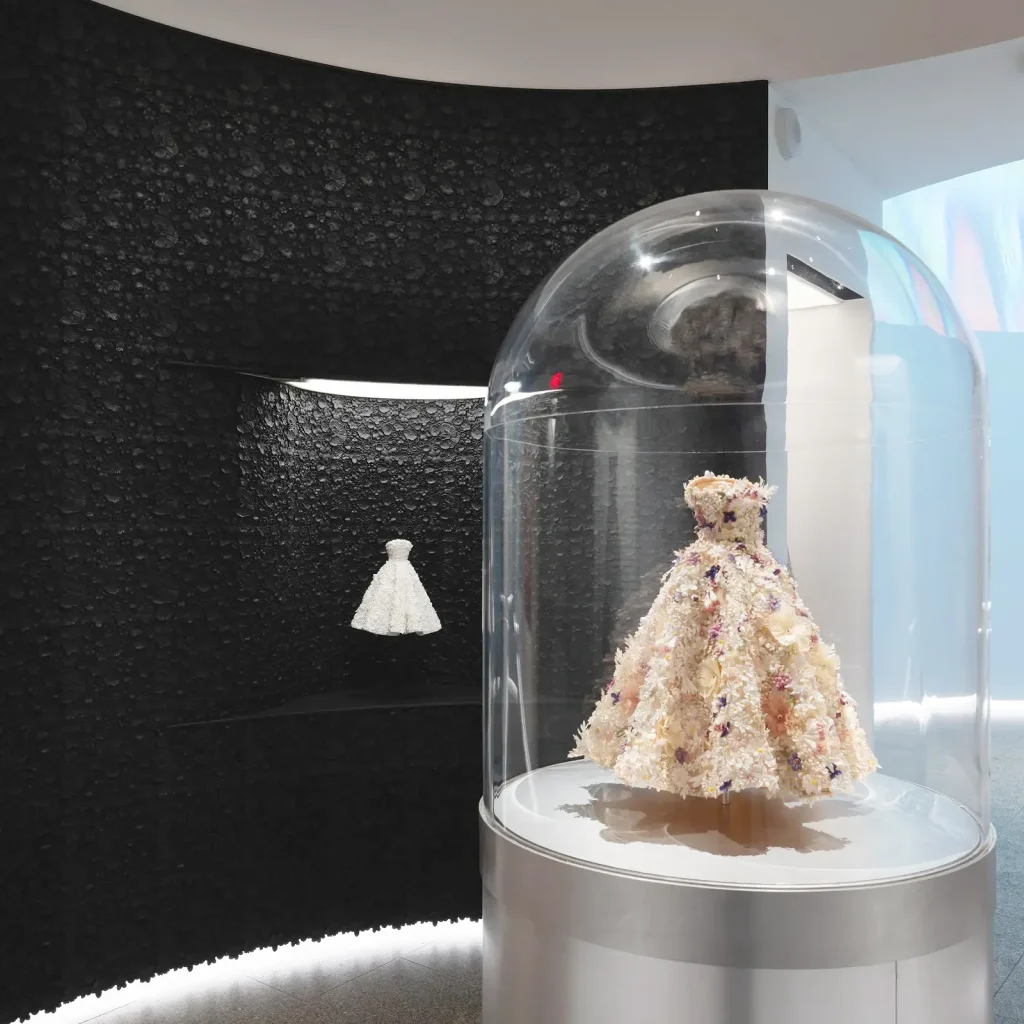
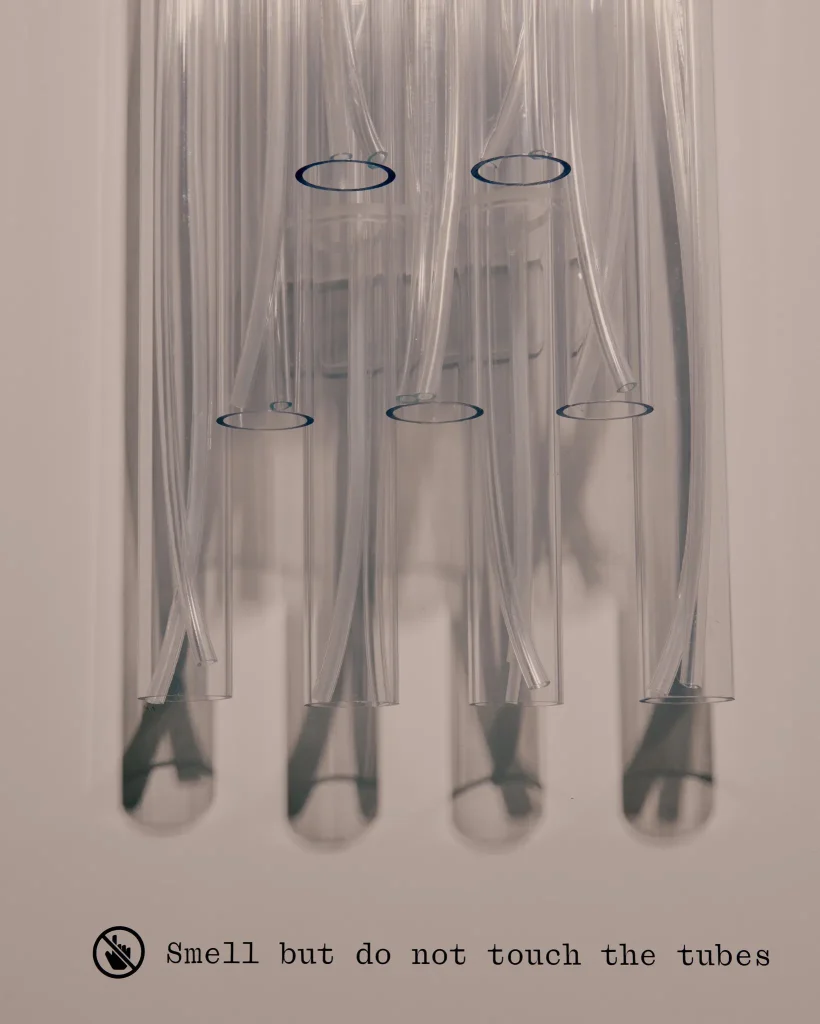
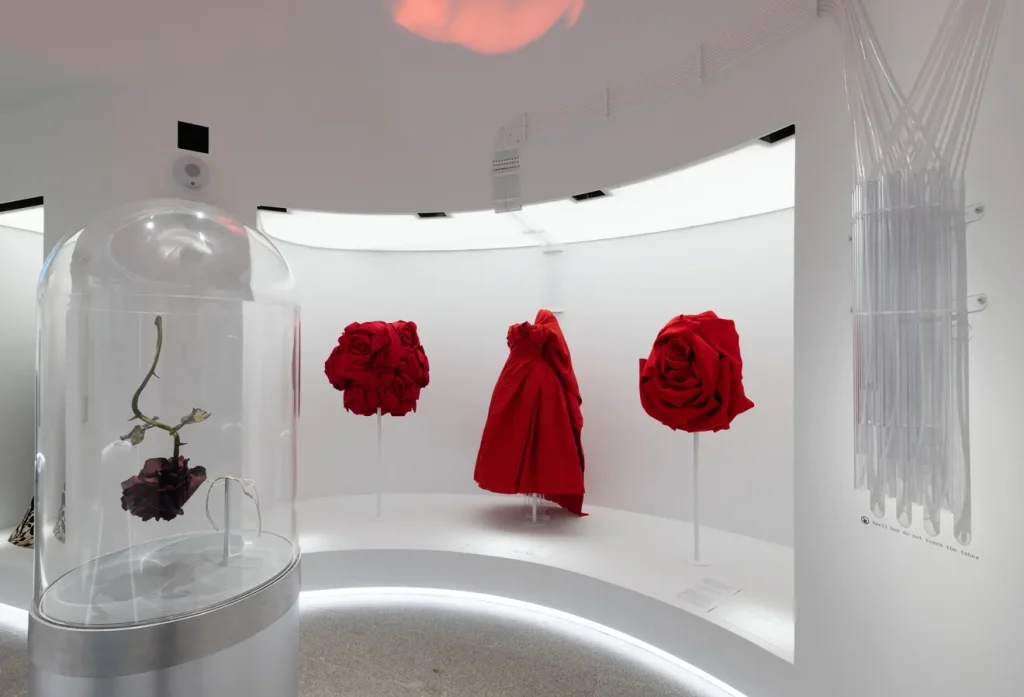
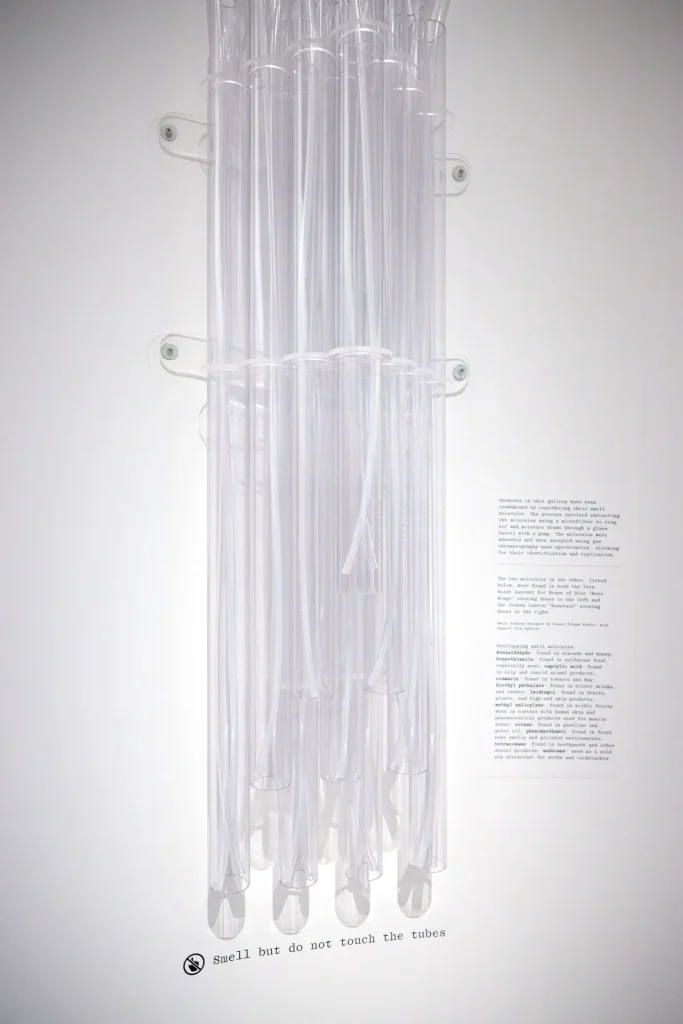
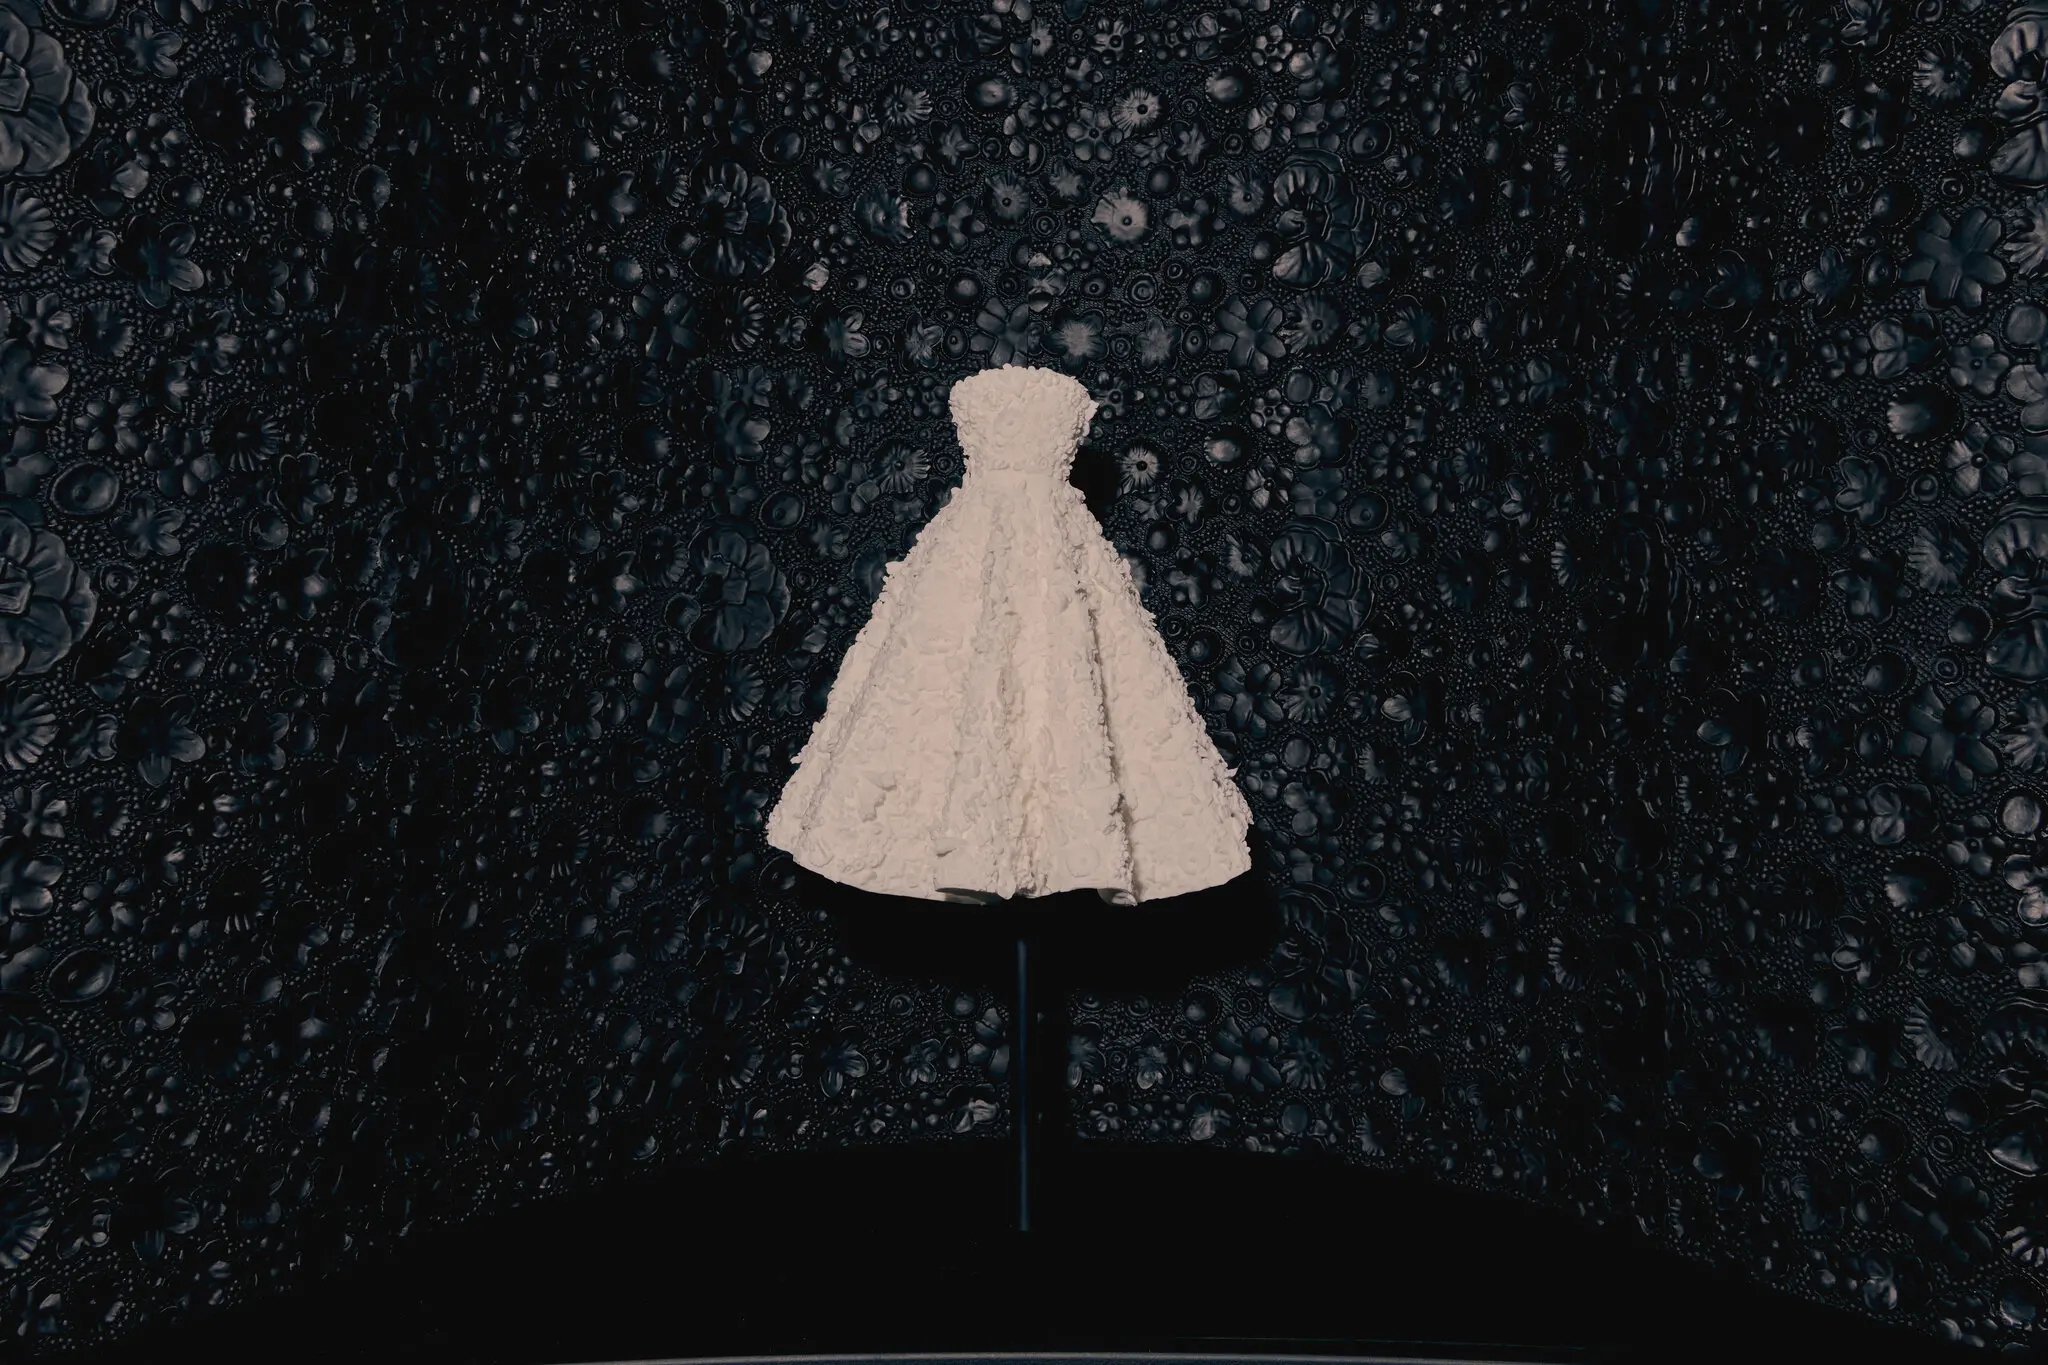
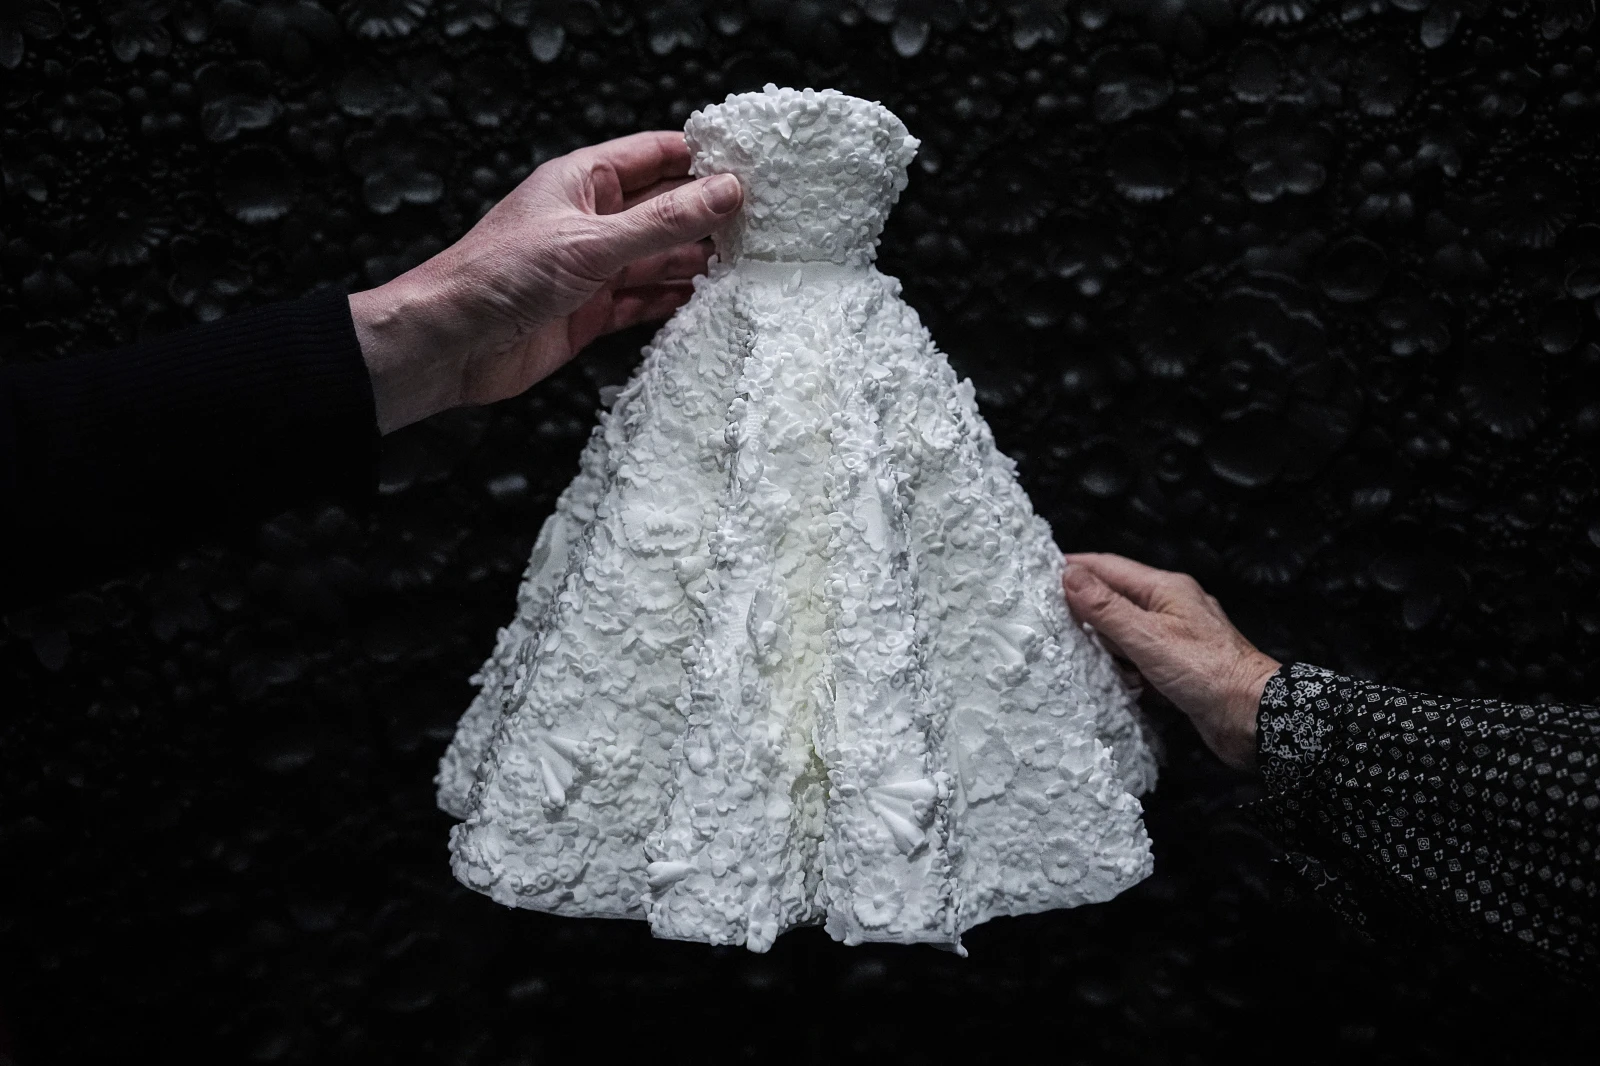
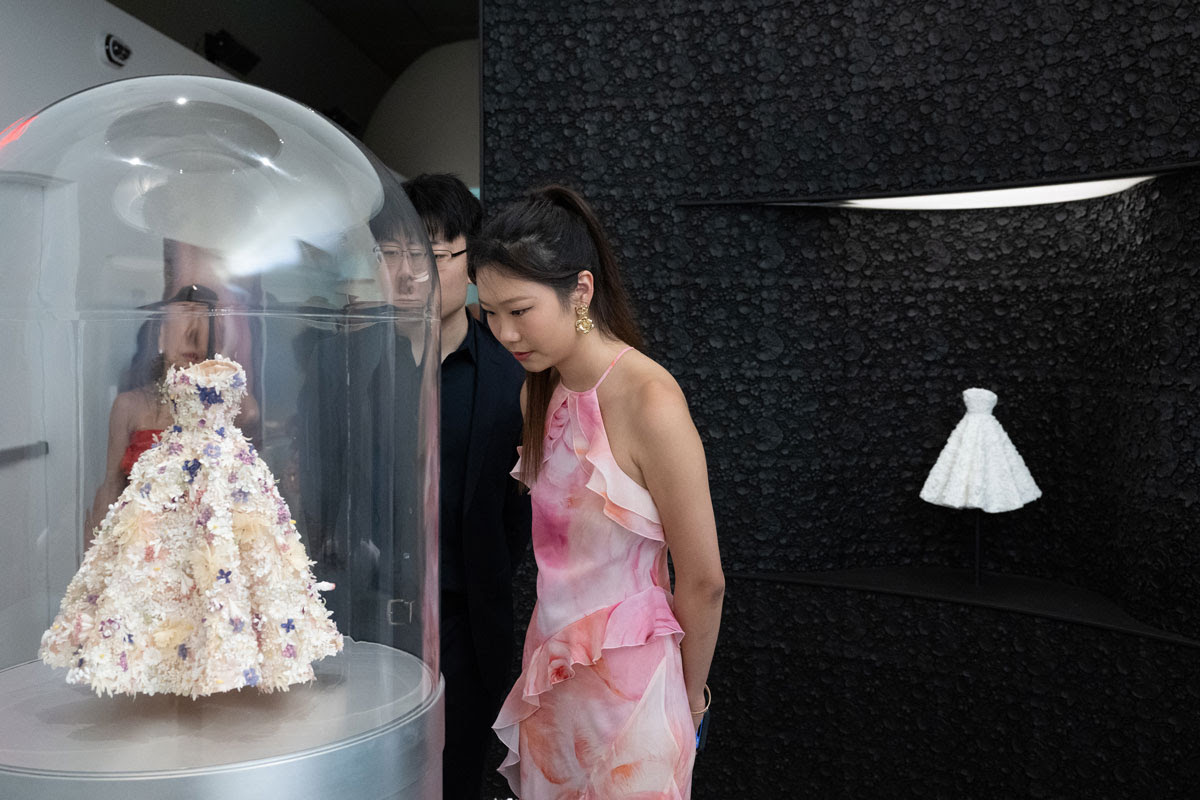
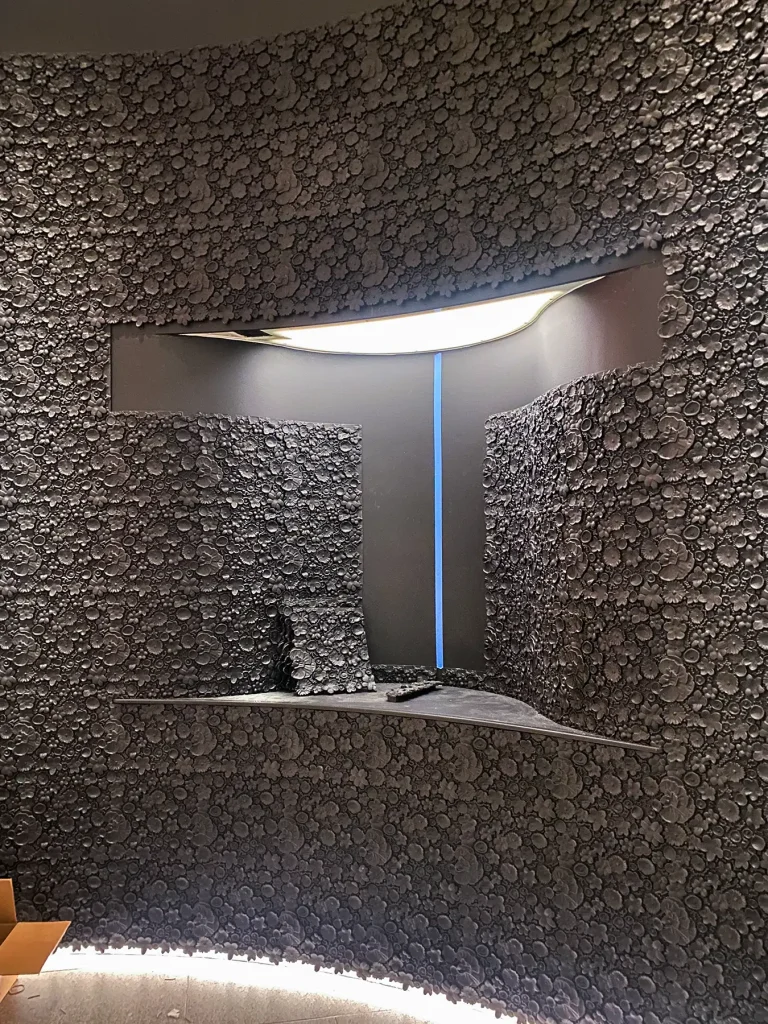
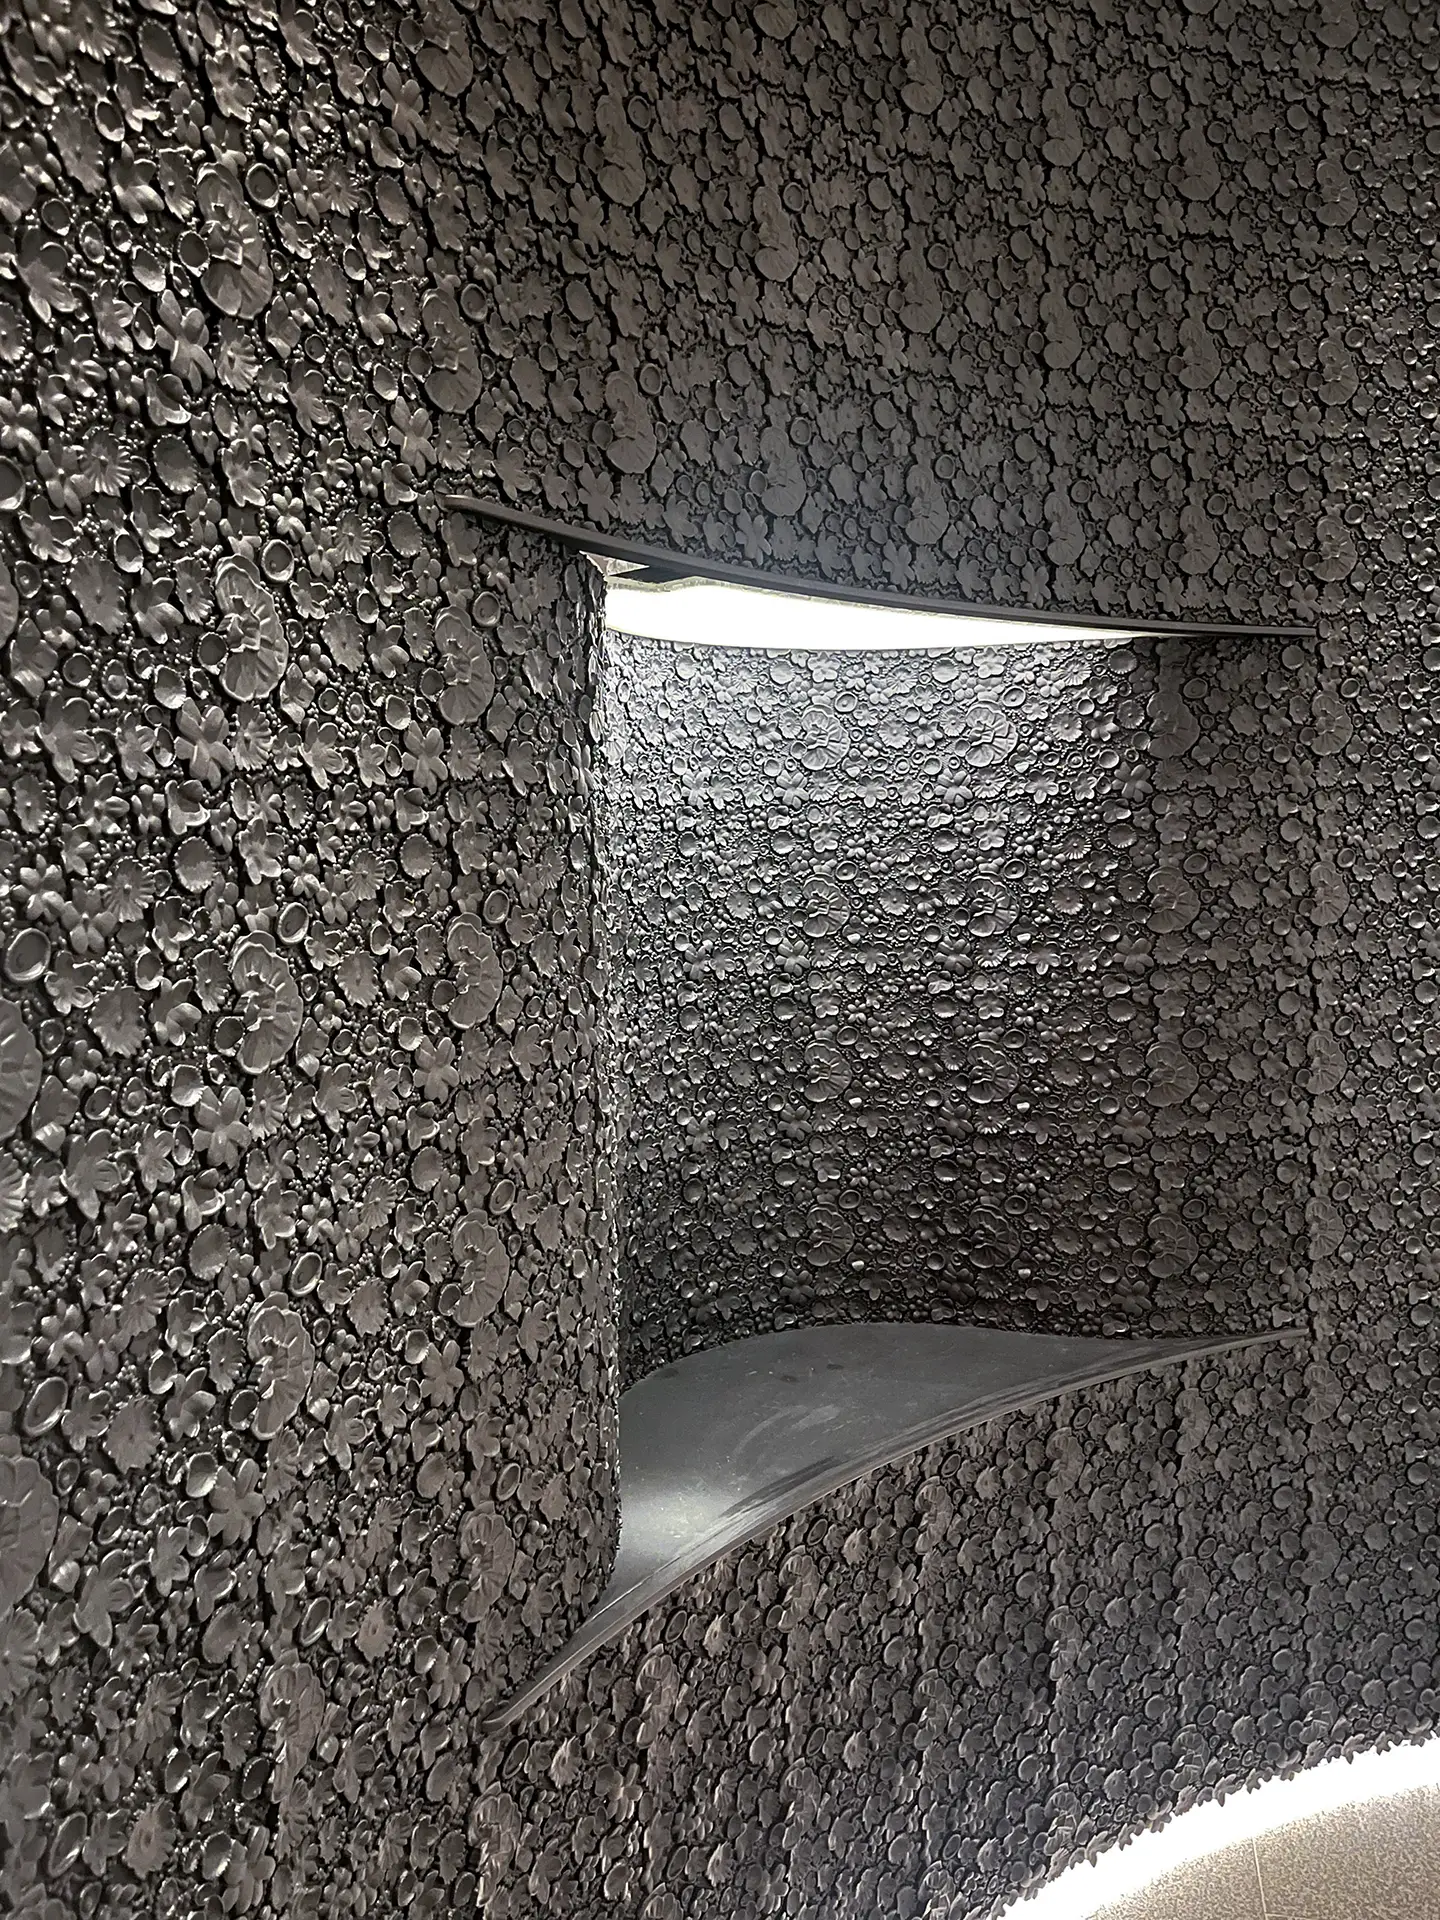
The Factory NYC had the pleasure of fabricating several items for the Met’s Sleeping Beauties: Reawakening Fashion exhibit. These included a black urethane tile wall resembling the Miss Dior Dress, a 3D-printed miniature Miss Dior dress, and a wall-mounted scent tube installation.
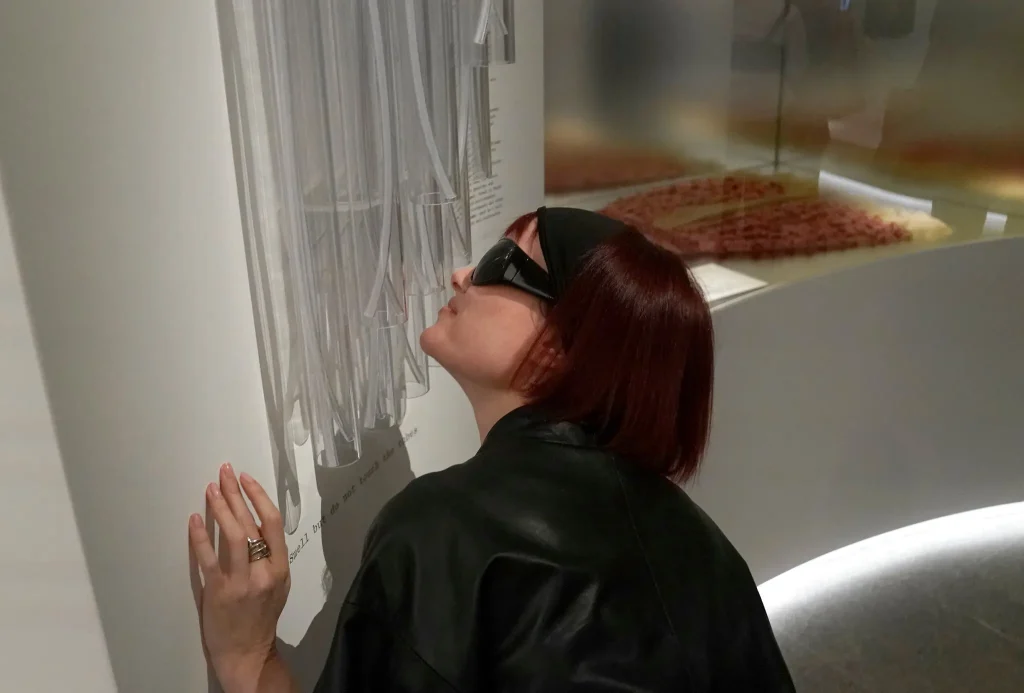
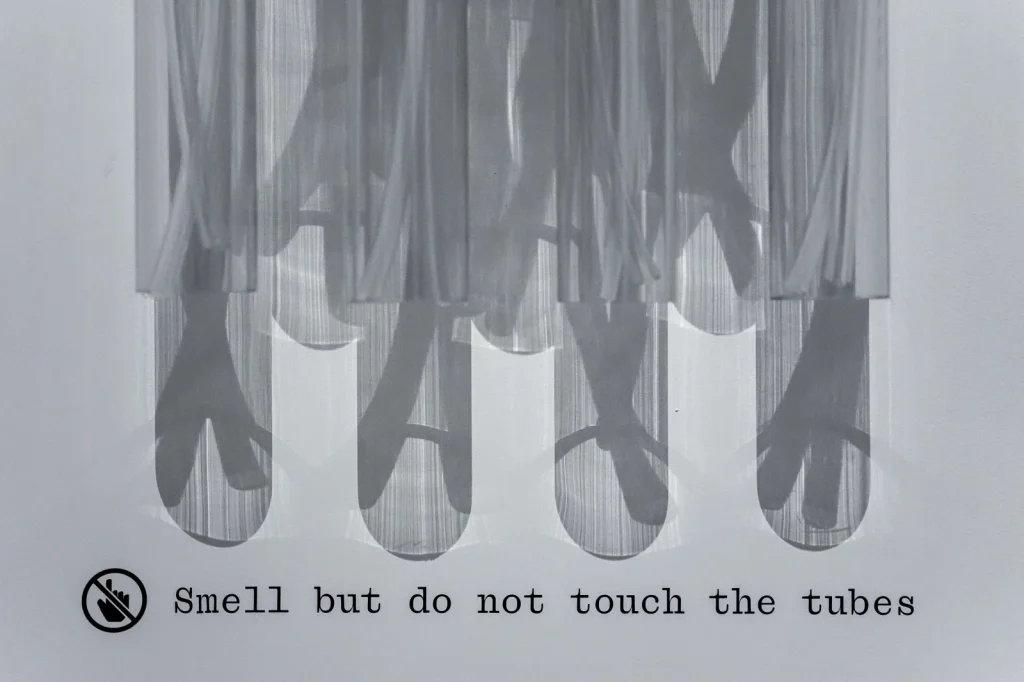
Unlike a traditional museum exhibition, Sleeping Beauties invites the visitor to not only look but also smell and touch items inspired by some of the most renowned garments in the history of fashion.
Our team at TFNYC was thrilled to contribute to the Museum’s vision, and we’ve interviewed Drew Wolke, our Fabrication Manager, & Olivia Taylor, Fabricator, whose roles were an integral part of this project from the prototyping to the installation.

 Interview with Drew Wolke, Fabrication Manager and Olivia Taylor, Fabricator at TFNYC
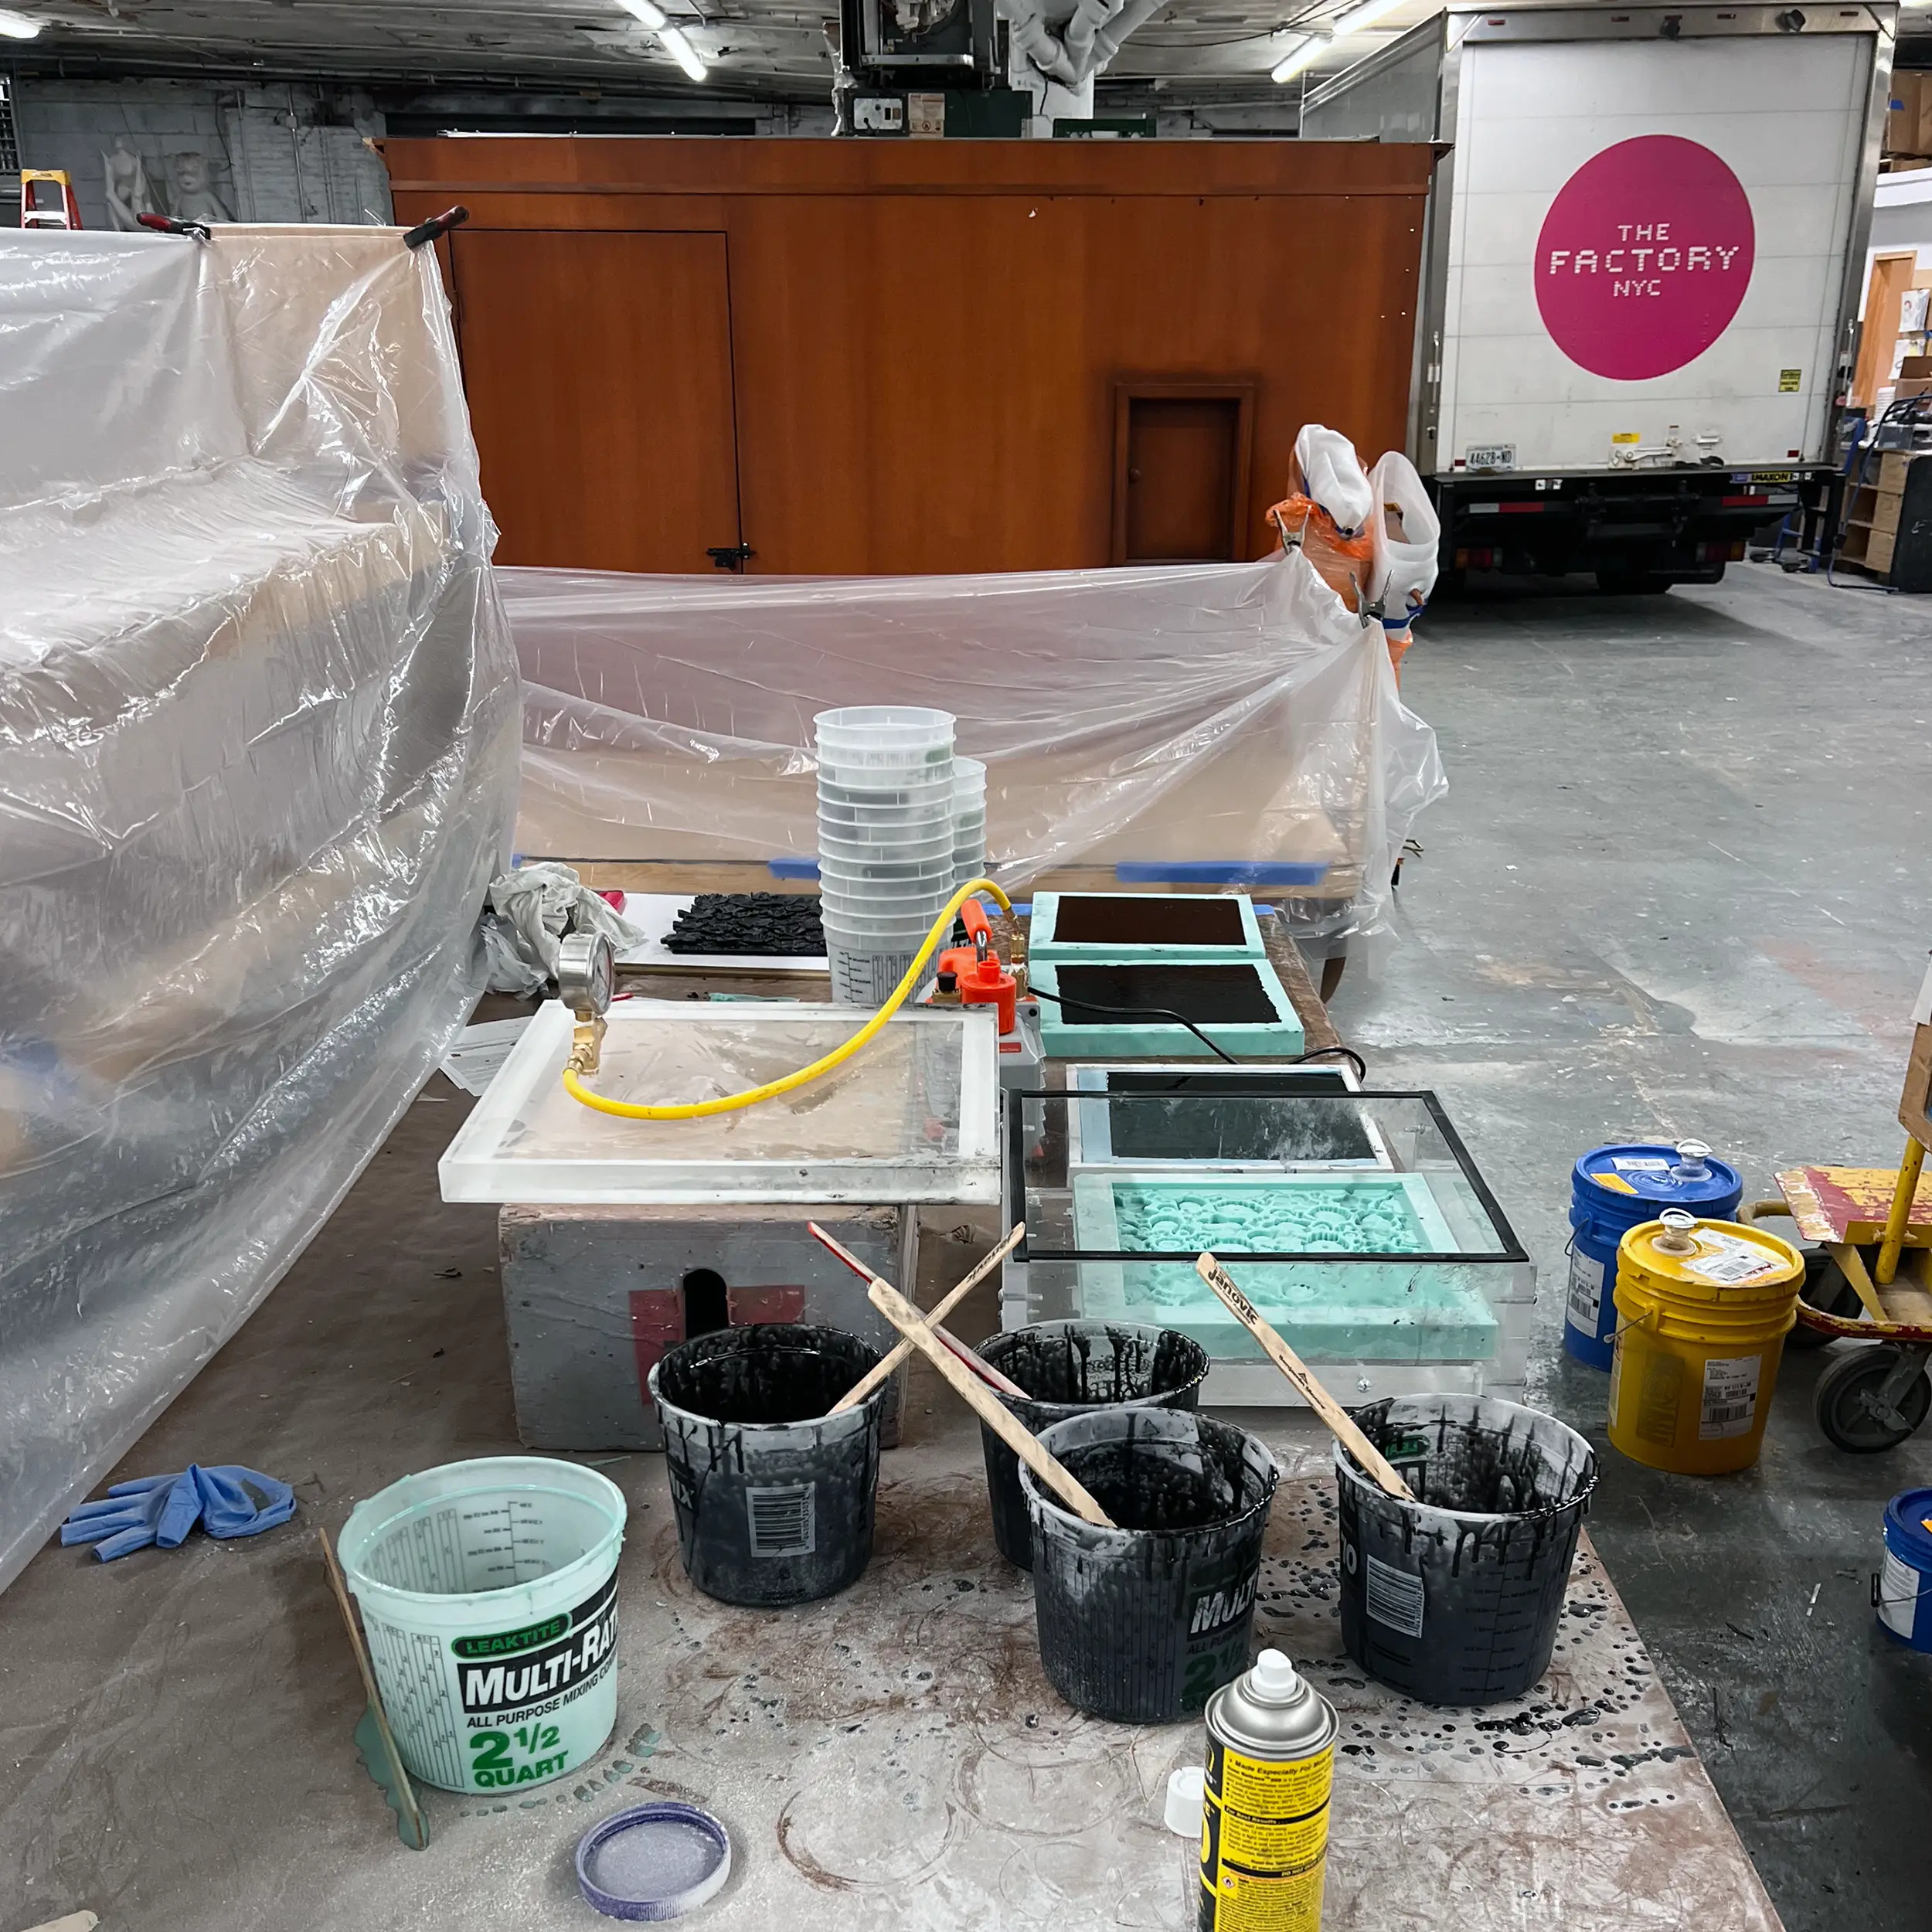
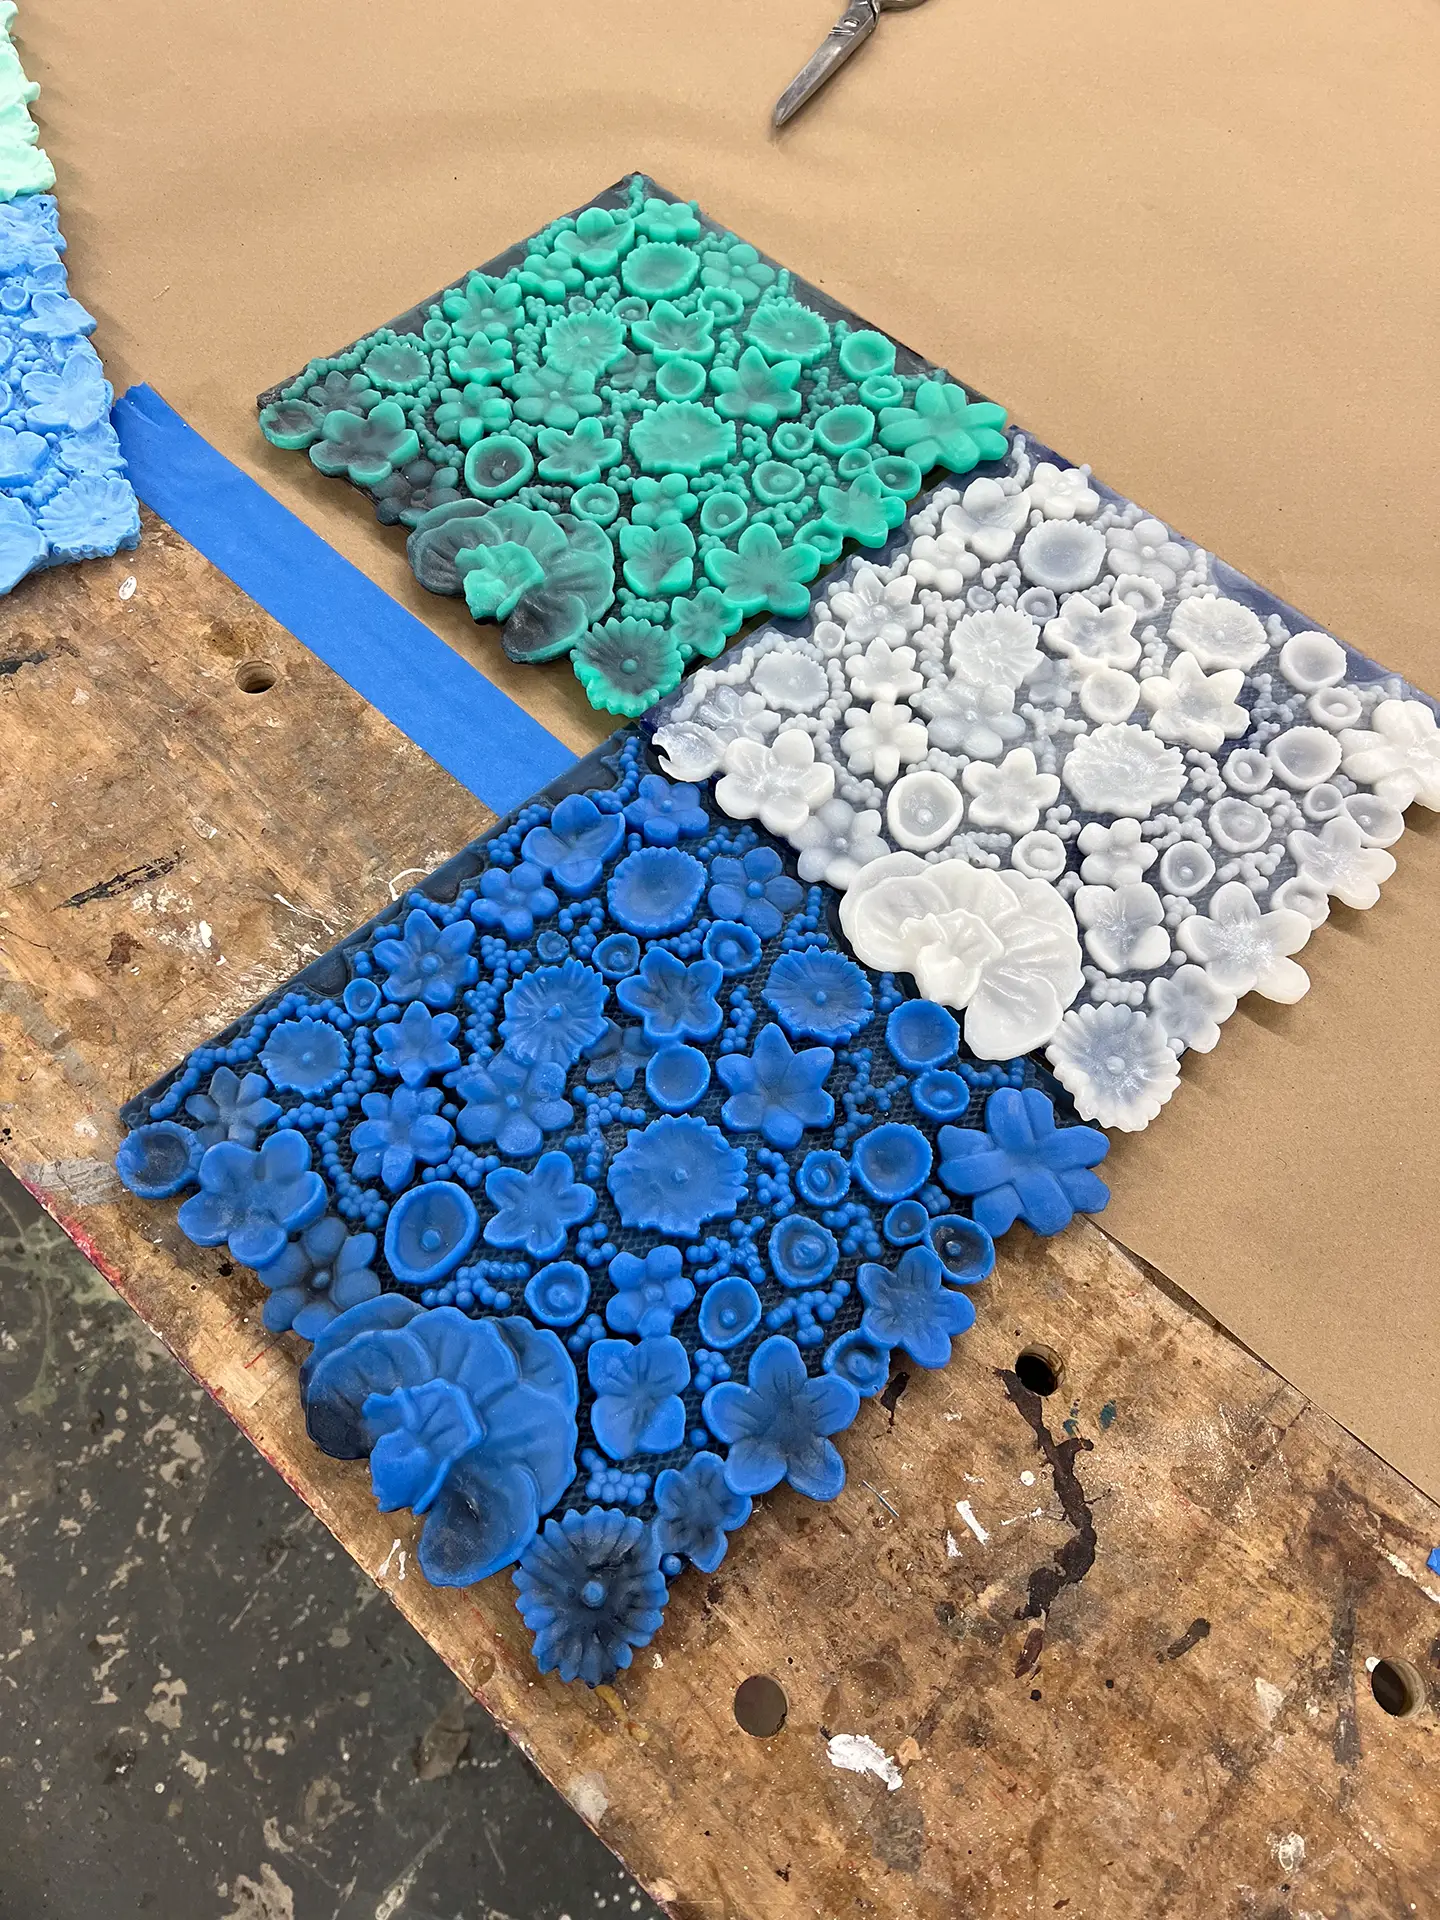
Q: What materials were used to make the tiles?
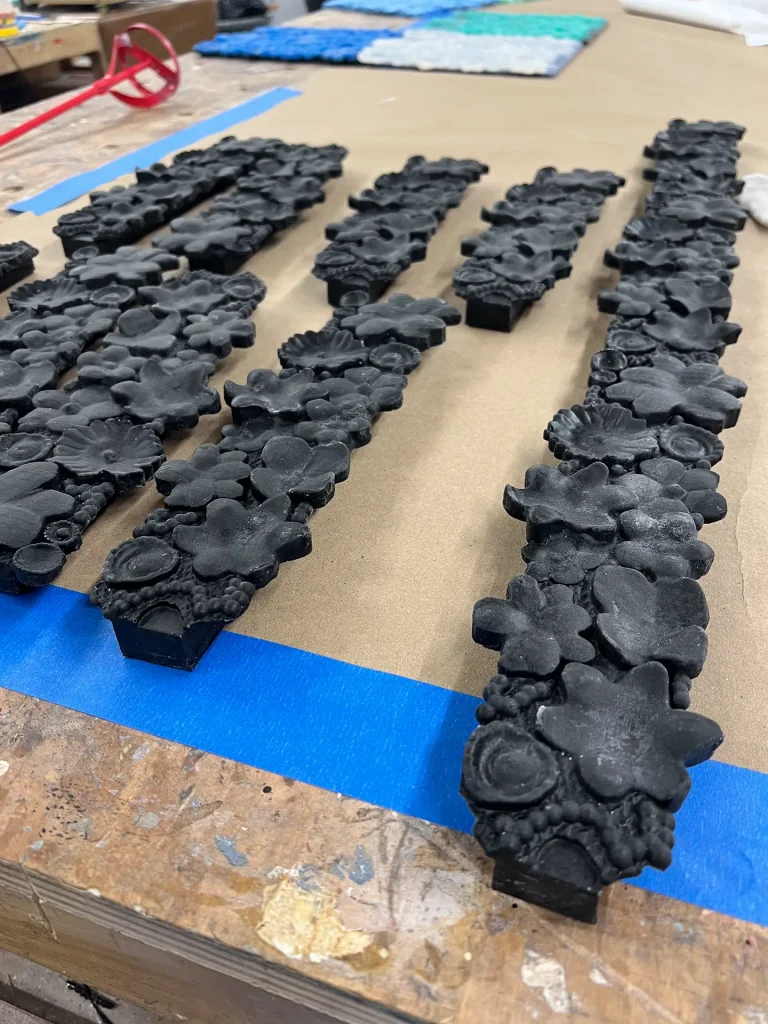
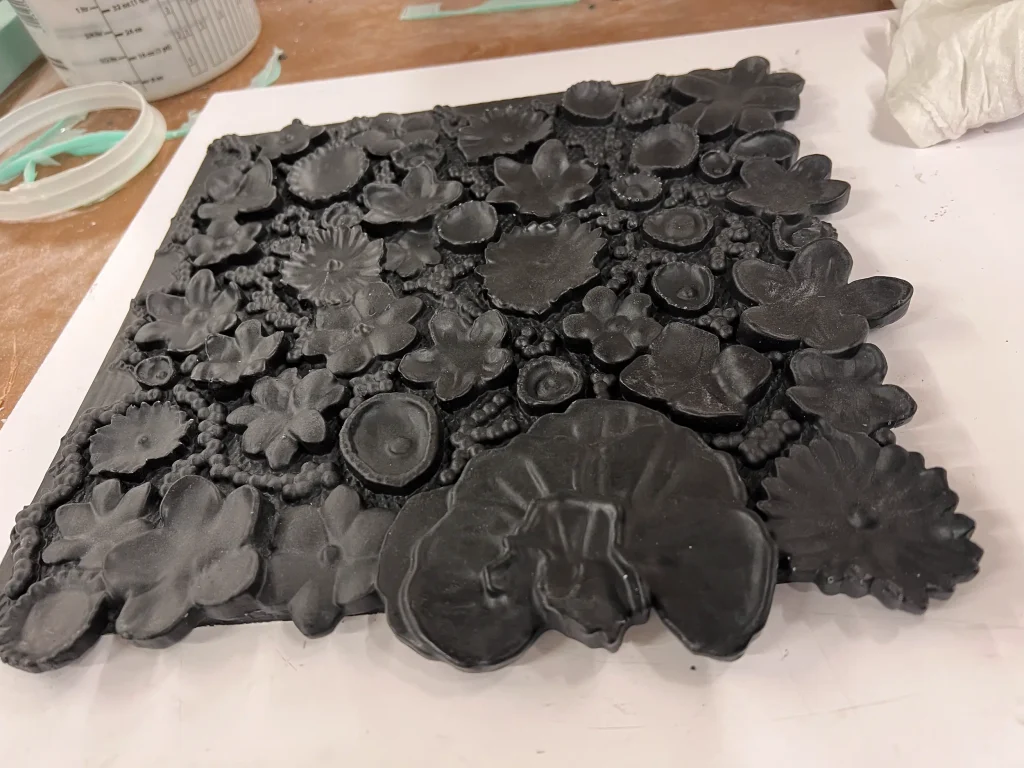
Olivia: We started with a 3D print as the base to make a silicone mold, we then poured urethane rubber to create the tile from that mold.
Q: How did you and the team repeatedly fabricate over 150 tiles?
Drew: It took a human hand to go in and doctor the 3D print to be prepared for molding. We worked on that thoroughly because a silicone mold picks up any micro detail, it took a lot of just tedious work to get them ready. I think I spent eight hours, a full day's work just to get the 3D print prepped for the mold because it was the master and we would be making many of them.
Olivia: After prepping the 3D print, by sanding and clear coating it because the silicone doesn't respond well to the 3D print material, we created the mold itself. We built a box around the print and poured the silicone in there.
Q: How long did it take to process one wall tile?
Drew: We produced them very quickly. We used fast-setting silicone, which took 30 minutes to cure, it allowed us to make multiple molds very quickly. We also used very fast-setting urethane resin that we made matte black, an aesthetic choice that worked quite well. As things cure they're coming out of molds in 20 minutes. Once they’re cured, we clean the mold and then cast another one, continuing the cycle, nonstop. We got the process down to an hour per tile if we were working on them individually. But we were mass producing them. It was about the flow of how many we made per day and keeping a cycle of mold making, we got it down to 50 tiles per day.
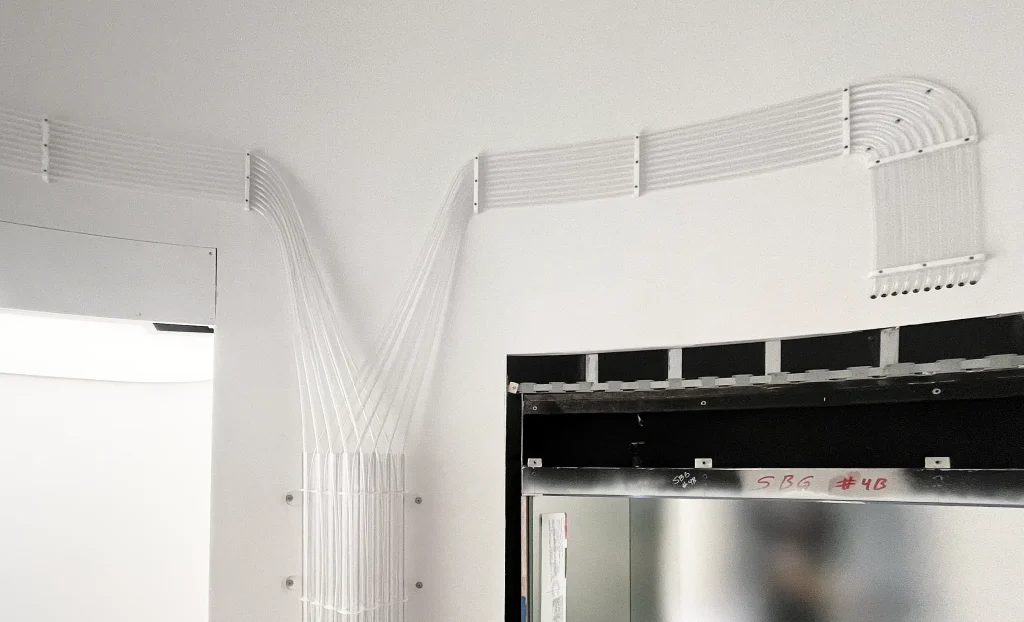
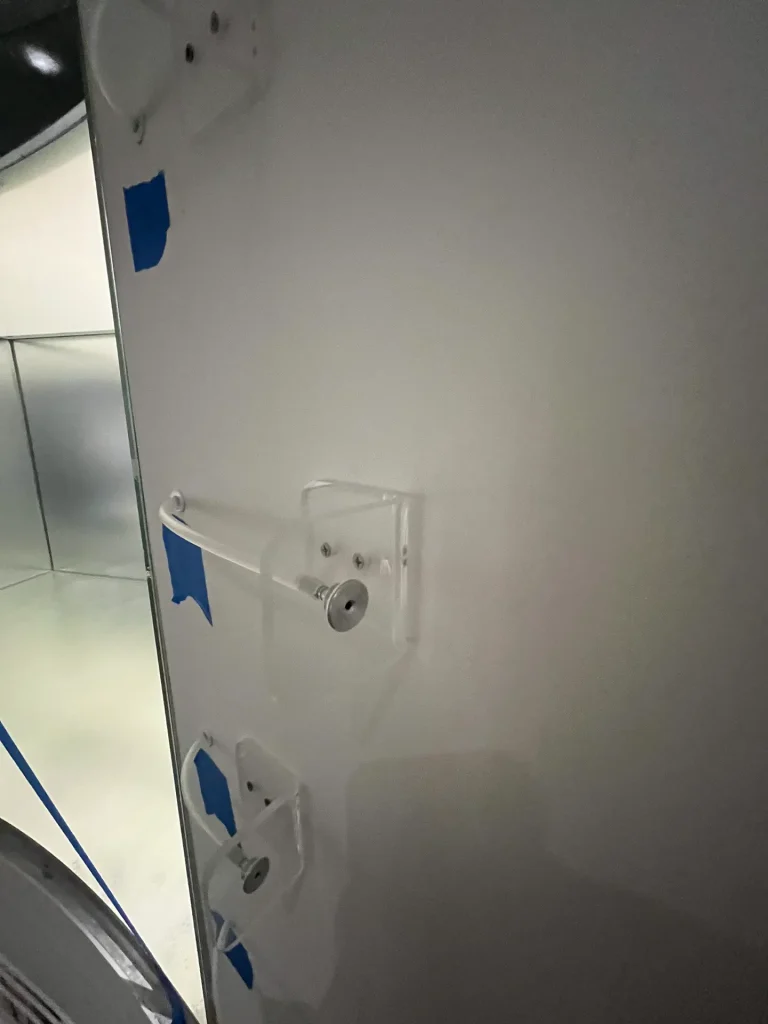
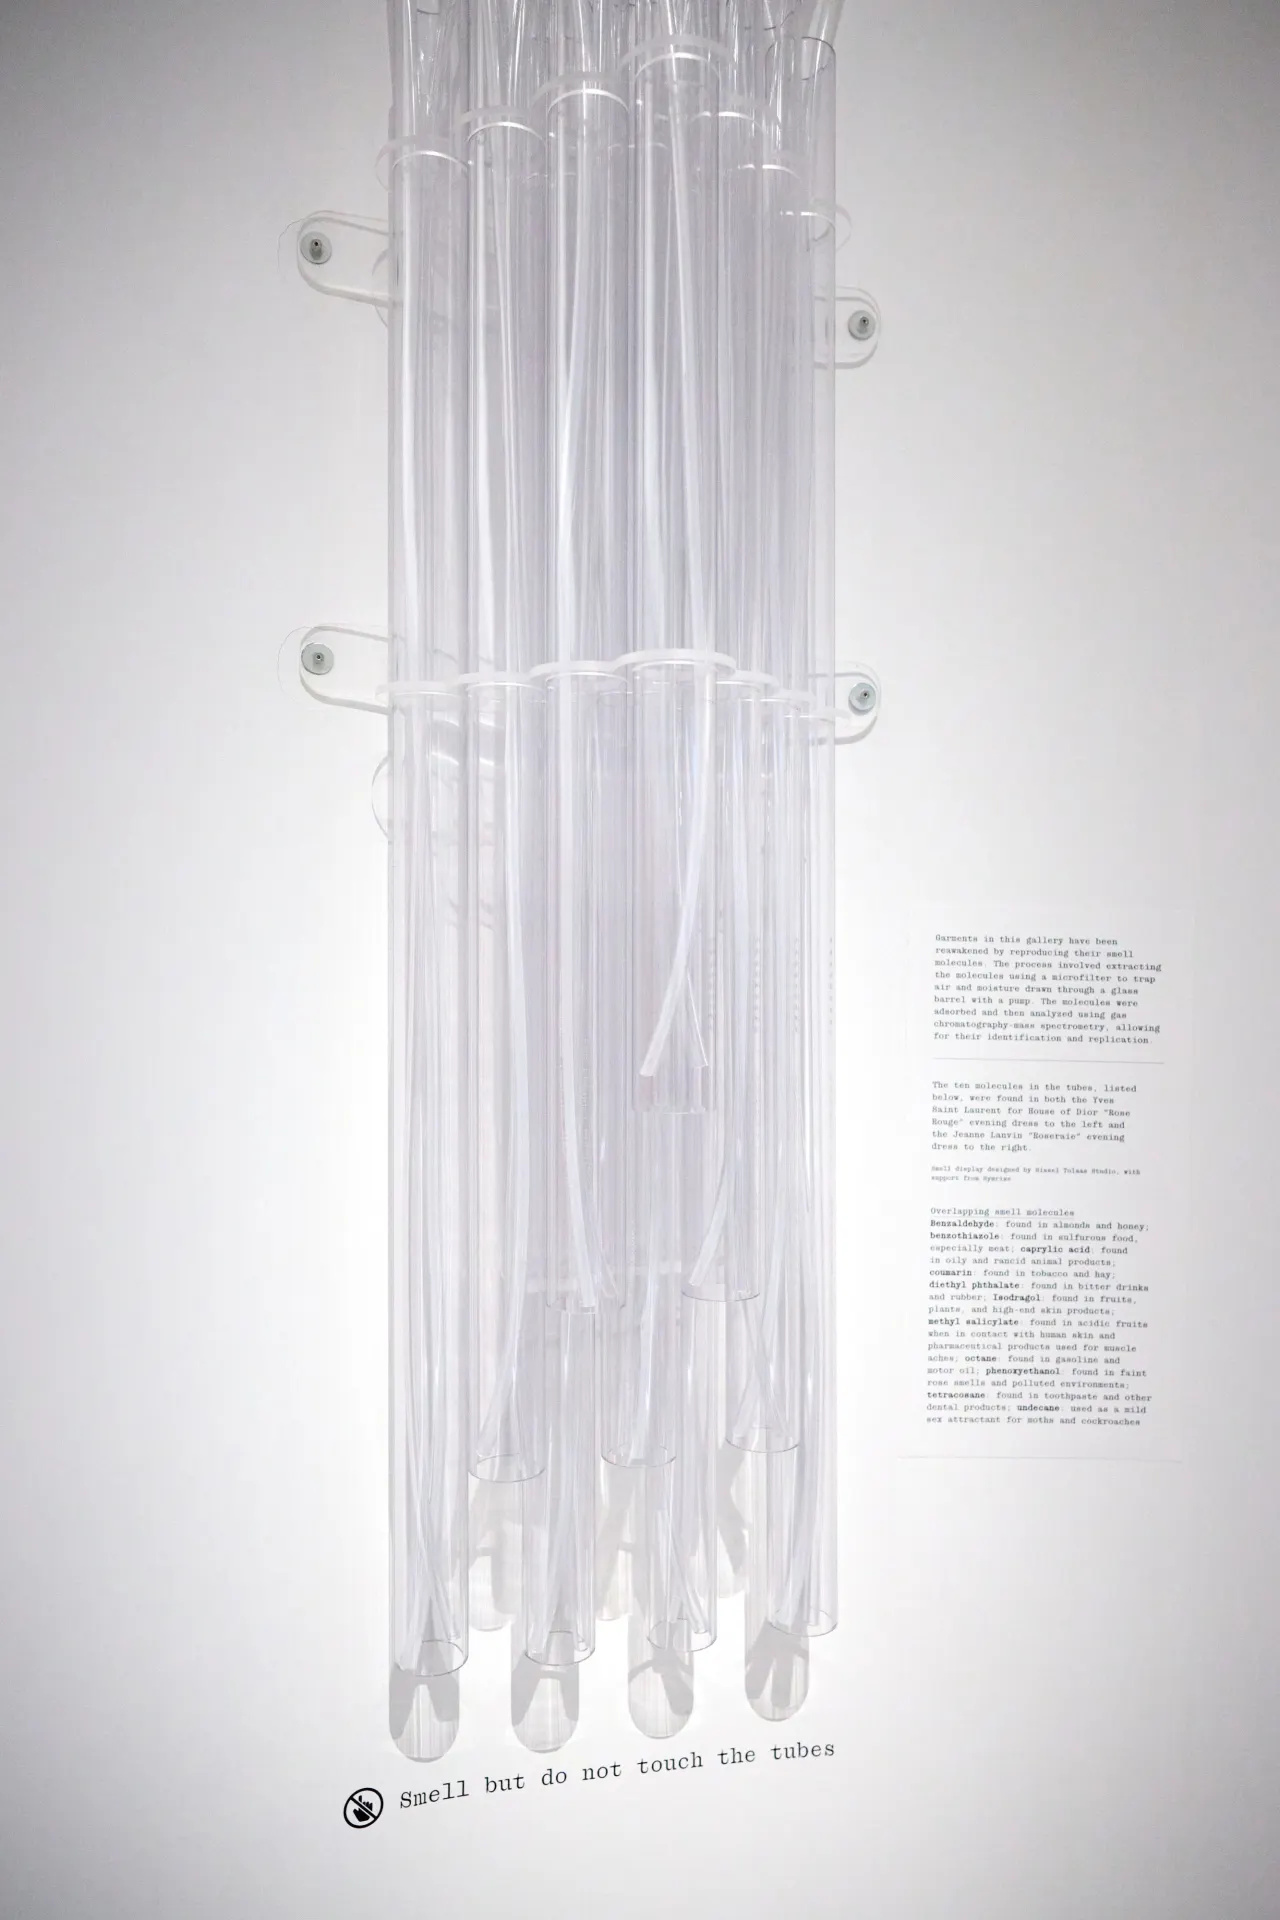
Q: What was the fabrication process for the scent tubes?
Drew: The tubes were drafting and design-heavy. We milled them out of acrylic then sandwiched the tubes in rows of tens and we could run them straight and keep them aligned nicely on the wall using some cool hardware clips. Then we also welded acrylic and bent custom brackets that were milled and bent using thermoforming. Those were the bigger tubes that you see that looked like a right triangle.
Q: Were there any new capabilities we utilized during the process of these projects?
Olivia: We refined molding projects for the shop. In conjunction with the 3D printing and the CNC, there are now many more possibilities for increased volume reproduction. We've already moved on to a similar project.
Drew: Also acrylic bending. We didn't do a lot of it in the past, but during this project, we successfully bent multiple acrylic brackets, which is cool. It’s now something that we can do with confidence as a company.
Also, an important element was the 3D-printed tile we used to make the mold. The drafting team worked hard to design and digitally sculpt using Rhino and Blender, they replicated the Dior dress so that we could cast it without problems.
Q: How did precision play a role in the casting process?
Olivia: Everything was troubleshot and measured out. The materials were two parts weighed and mixed in a bucket, so each cast made was the same volume with minimal waste. As it is a chemical process, measuring accurately and consistently was important or else it wouldn’t work properly.
Q: What was the installation process like?
Drew: Because it was a grid we started in the center and found a plumb line and a level line. Once that was sorted out the grid can expand in all directions. It was successfully clipped together. The urethane was self-healing, meaning we could shoot fasteners through it, and because it's a urethane rubber that's durable, yet pliable. When you shoot a nail through it, it closes the hole, and you can't see it anymore. It was invisible and good for the installation because that allowed us to complete it efficiently with fasteners and not make a mess with adhesives.
Q: Were there any challenges?
Drew: We had to make a couple of custom tiles to put into the cove because the grid is stretched it expands and adds more tiles, so it became a puzzle. That was solved digitally through a mesh. We had to compensate for an additional inch and a half of space, or a whole extra tile to the grid, that was a challenge. In the end, it was cool because we saw the grid evolve.
Q: What was your favorite part of this project?
Drew: My favorite part was the mold-making or the R&D to figure out the mold. It was tedious and time-consuming because we knew what we needed to achieve, but there were also so many products available out there. Some would work but some take longer to cure or whatnot or were just a little too soft or brittle, but we found the right product. The best part about the job was when we hit our stride in the mold-making and were seamlessly producing them which was great to see.
Olivia: I mean, it was just really satisfying. Seeing it all put together as one big continuous sheet. I like doing high-volume projects where I can hone in on the process and just plug away and work out all the kinks.